Before you choose a sofa, a paint colour or a light fitting, you need a plan of the room. Designers start every project this way, because almost every expensive mistake, such as a sofa that will not fit through the door or a rug that is too small, comes from guessing sizes. Drawing a floor plan sounds technical. It is really just careful measuring and a pencil.
What you need
- A tape measure, ideally a 5 or 8 metre one. A laser measure is faster but not essential.
- Grid paper, a pencil and an eraser.
- A second person, if possible, to hold the end of the tape.
- Your phone, to take photos of each wall for reference.
Step 1: Sketch the room roughly
Walk around and draw the outline of the room freehand, without worrying about scale. Mark doors, windows, radiators, sockets, light switches, fireplaces and anything built in. This rough sketch is where you will write your measurements.
Step 2: Measure each wall
Measure each wall at about waist height, from corner to corner, and write the figure along that wall on your sketch. Work clockwise from the door so nothing gets missed. Measure in centimetres; it avoids fractions.
Then measure the room diagonally from corner to corner, both ways. If the two diagonals are the same, the room is square-cornered. If they differ, the walls are not quite at right angles, which is common in older buildings and worth knowing before ordering anything fitted.
Step 3: Measure the openings
For each door and window, measure:
- The distance from the nearest corner to the edge of the opening.
- The width of the opening.
- For windows, the height from the floor to the sill and to the top of the frame.
- For doors, which way they open and how far the door swings into the room.
Door swings are easy to forget and important. A door opening inwards needs a clear quarter-circle in front of it.
Step 4: Note the fixed details
Mark the position of radiators, sockets, switches, ceiling lights and any pipes or vents. Measure the ceiling height too. These details decide where furniture can go and where lamps can plug in.
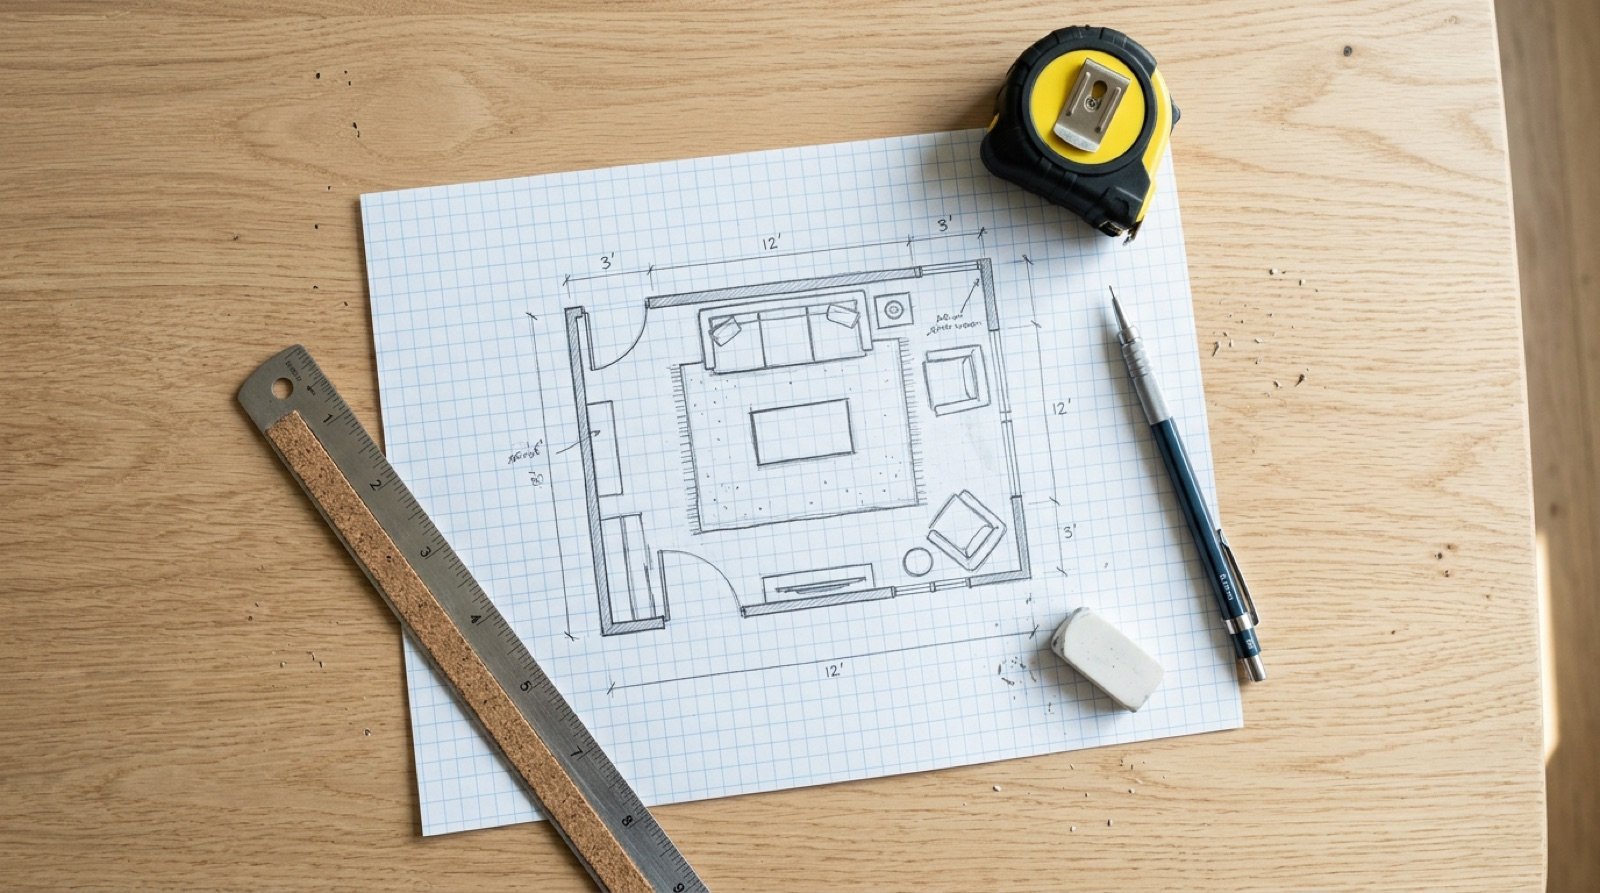
Step 5: Draw it to scale
Now turn the sketch into a scale drawing. On grid paper, a scale of 1:50 works well for most rooms: 1 centimetre on paper equals 50 centimetres in the room, so a 4 metre wall becomes an 8 centimetre line. If the room is large, use 1:100.
Draw the walls first, then the openings, then the fixed details. Use a single line for walls if you are just planning furniture; architects draw wall thickness, but you do not need to.
Step 6: Add furniture
Measure the furniture you already have and anything you are thinking of buying. Draw each piece to the same scale on a separate piece of paper, cut them out and move them around the plan. This old-fashioned method is still one of the fastest ways to test layouts. You will quickly see if walkways are too narrow or if a piece simply does not fit.
For guidance on spacing and walkways, see our living room layout guide.
Prefer to work digitally?
There are free and paid floor planning apps that let you draw rooms and drag in furniture. They are useful, and many designers use them, but they work best once you understand what you are measuring. Draw one plan by hand first. It trains your eye to read space, and you will notice more about the room while you are measuring than any app will tell you.
Keep it with you
Take a photo of your finished plan and keep it on your phone. When you see a table or a rug you like in a shop, you can check immediately whether it fits. That one habit will save you more money than any discount.