It is the classic problem. Clients want to see a portfolio before they hire you, and you cannot build a portfolio without clients. Every designer has faced it. The way out is to understand what a portfolio is really for. Clients are not only looking at finished rooms. They are trying to understand how you think, how you solve problems and whether they can trust you with their home. You can show all of that before anyone pays you.
What to include
1. Your own home
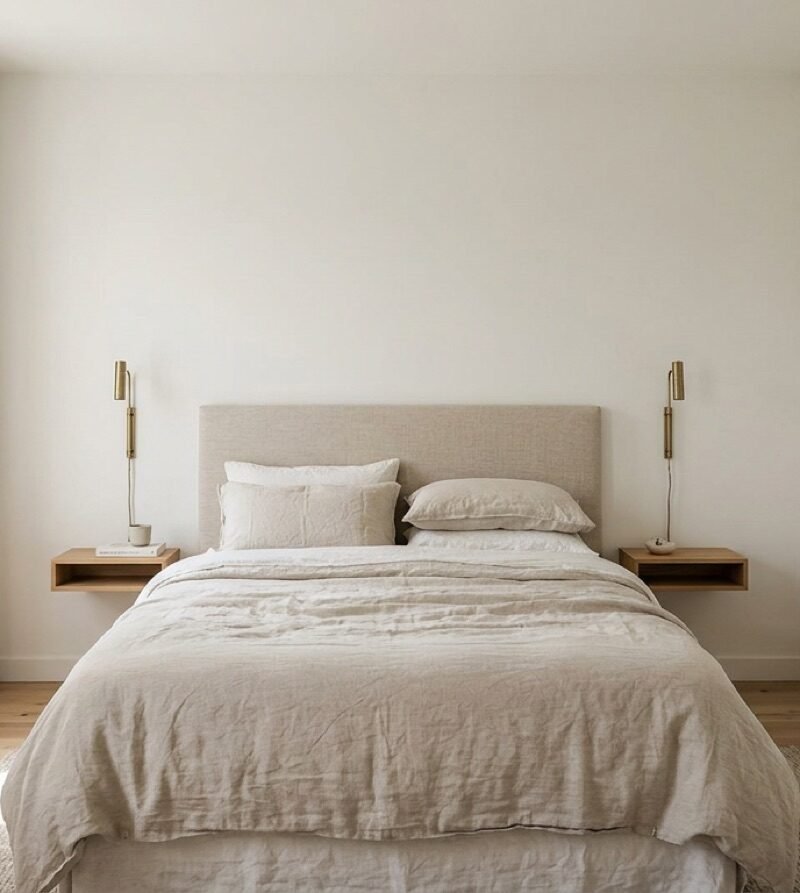
Start with the space you know best. Document it before and after any change, even a small one: a rearranged living room, a repainted bedroom, a reorganised hallway. Show the problem, what you changed and why. A modest room with clear reasoning is more convincing than a glamorous one without explanation.
2. Projects for friends and family
Offer to design one room for a friend or relative at a reduced fee or for the cost of materials. Treat it exactly like a real project: a brief, a measured plan, a mood board, a shopping list and photos at the end. You get a real project, and they get a better room.
3. Concept projects
Design rooms that do not exist yet. Take a real floor plan, from a property listing or your own measurements, and create a complete scheme for an imagined client. Write a short brief first: who lives there, what they need, what their budget is. Then design to that brief. Be honest that it is a concept; clients respect that.
4. A redesign of a public space
Choose a café, a waiting room or a shop you know and redesign it on paper. This shows you can think beyond homes and work with practical constraints such as seating capacity, durable materials and flow.
5. Your process
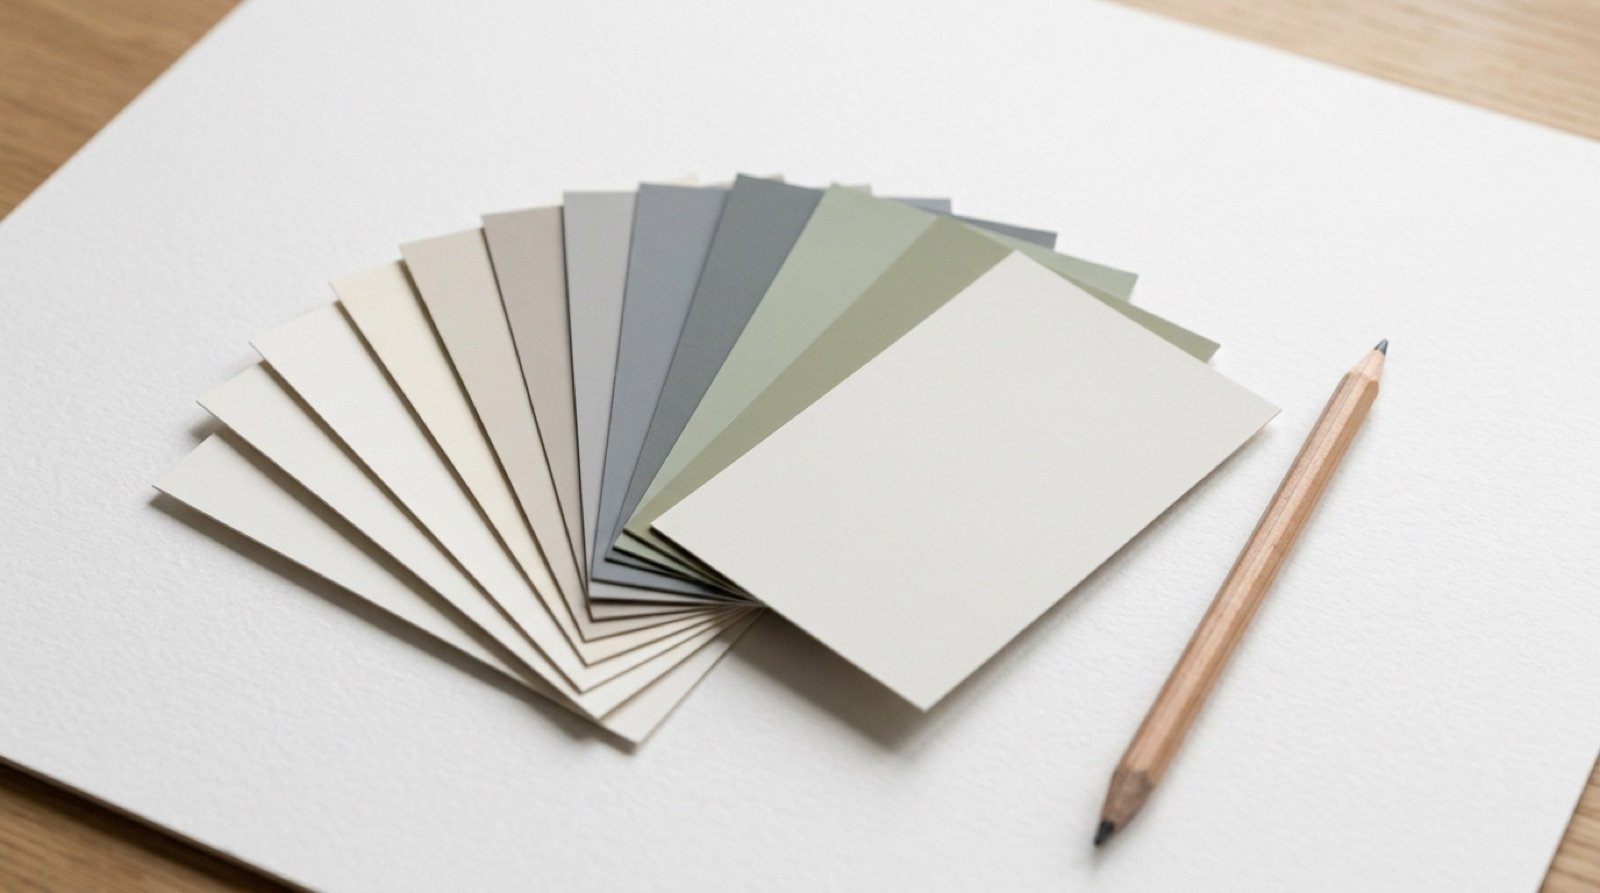
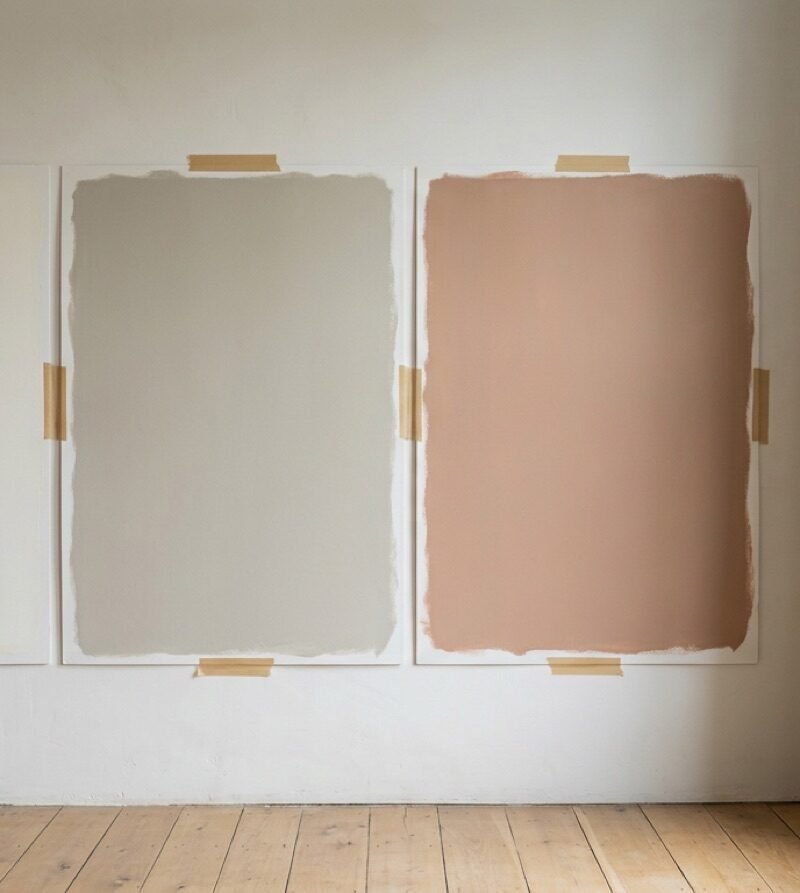
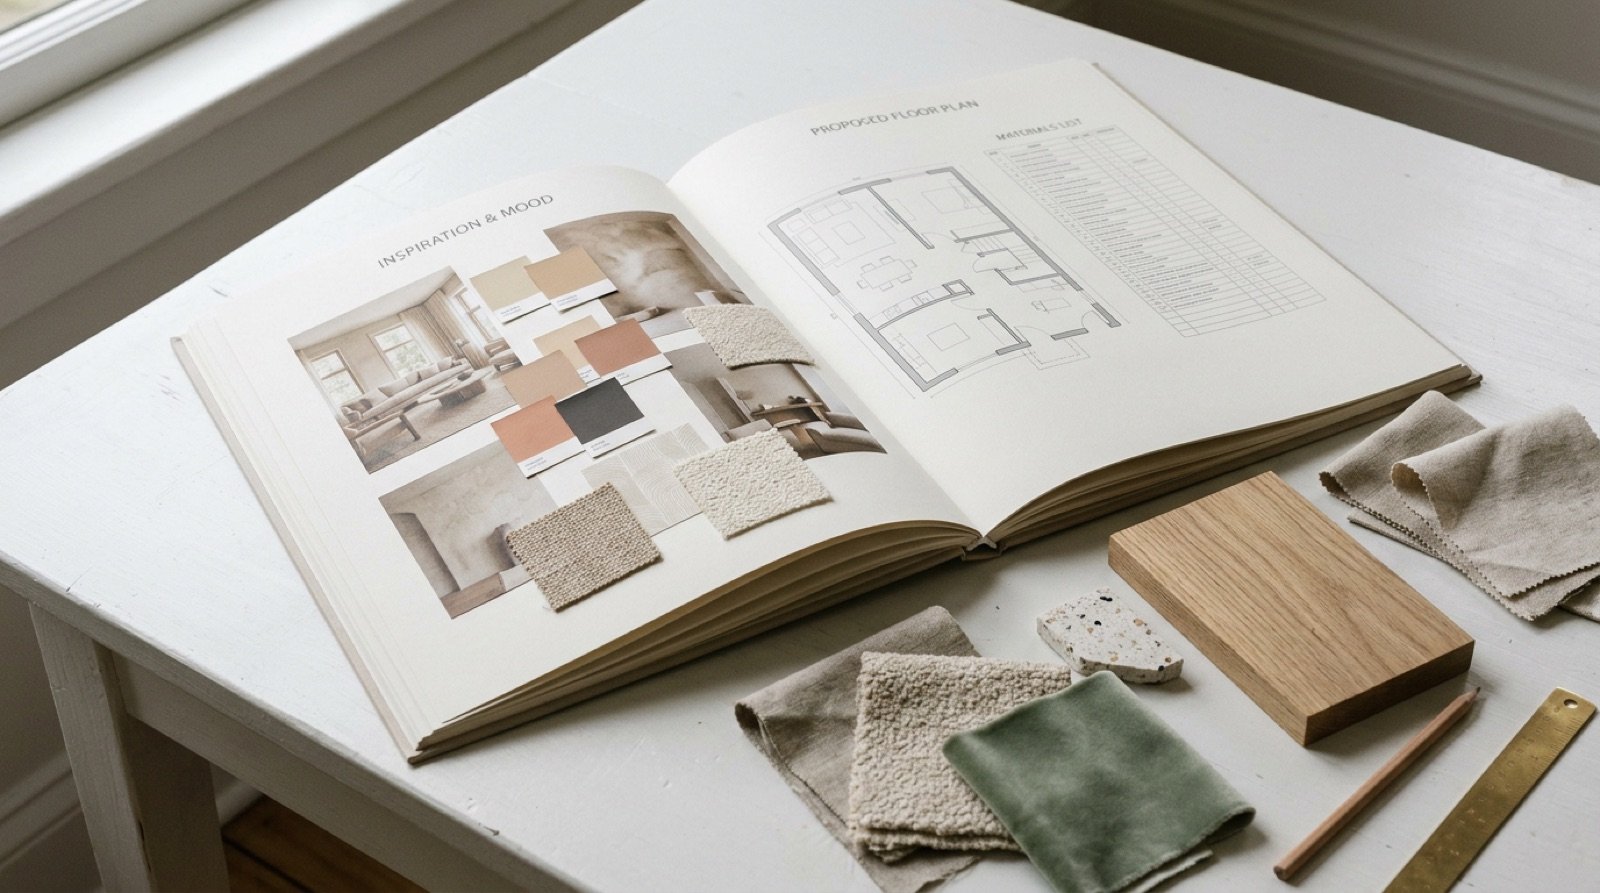
Include the working material, not only the final images: sketches, floor plans, colour tests and sample boards. Clients often find these more reassuring than polished visuals, because they show you do the careful work.
How to present each project
Give every project the same simple structure so a client can follow it in a minute or two.
- The brief: who the space is for and what they needed, in two or three sentences.
- The challenge: what made it difficult. A dark room, a tiny budget, an awkward layout.
- The plan: a floor plan showing your layout decisions.
- The scheme: mood board, colours and materials, with a line on why you chose them.
- The result: photos or visuals of the finished room.
Photographs matter more than you think
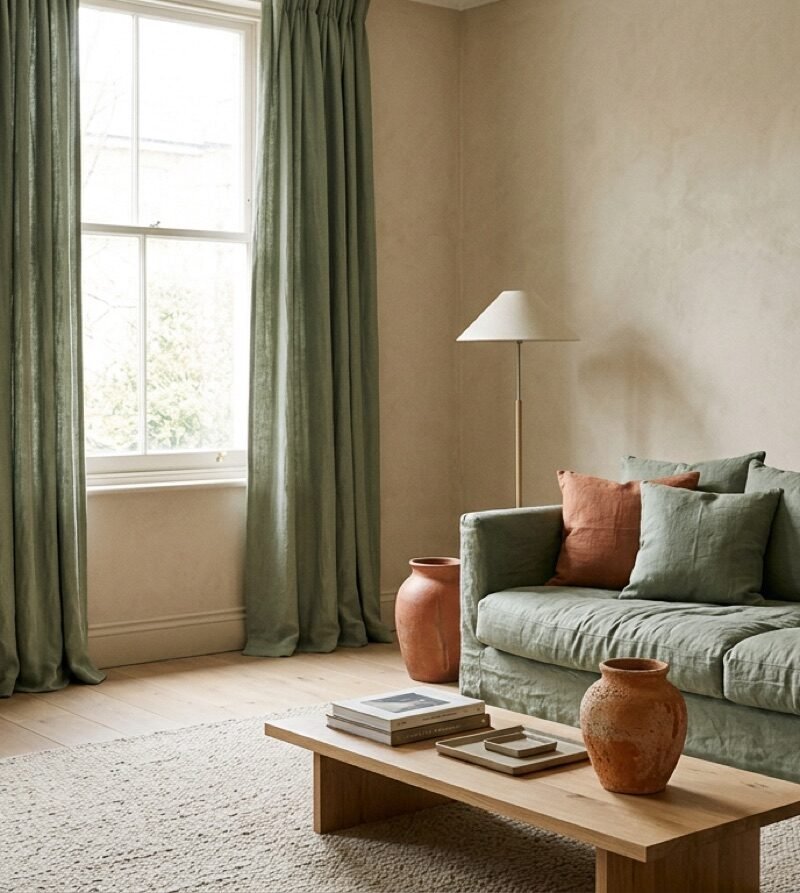
Good photos can make a simple room look considered, and bad ones can ruin a beautiful one. You do not need expensive equipment. Shoot in daylight with the ceiling lights off, hold the phone at chest height and keep vertical lines straight. Clear clutter, plump the cushions and shoot from the corners of the room to show depth. Take more photos than you need and choose the best few.
Where to put it
A simple website with your projects, a short introduction and a way to contact you is enough to start. Instagram and Pinterest help people find you, but they are not a replacement for a place where a client can see your work in order. A PDF version is useful to send after a first conversation.
Quality over quantity
Three well-presented projects are better than ten rushed ones. Choose the work that best shows the kind of projects you want more of. If you want to design calm family homes, lead with that rather than the bold restaurant concept you did for fun.
Once you have something to show, the next question is what to charge. Our guide to pricing your first projects picks up from here.